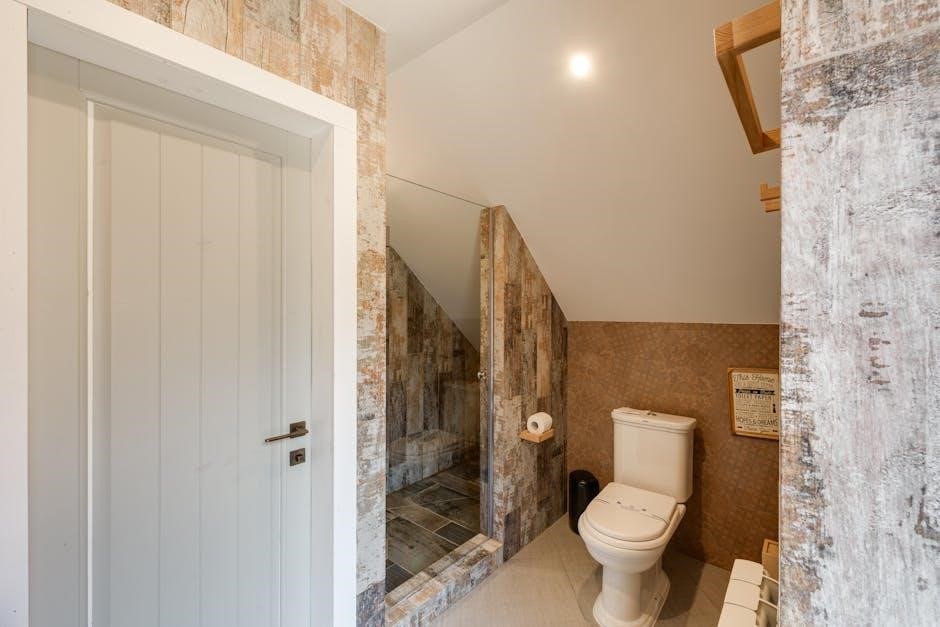
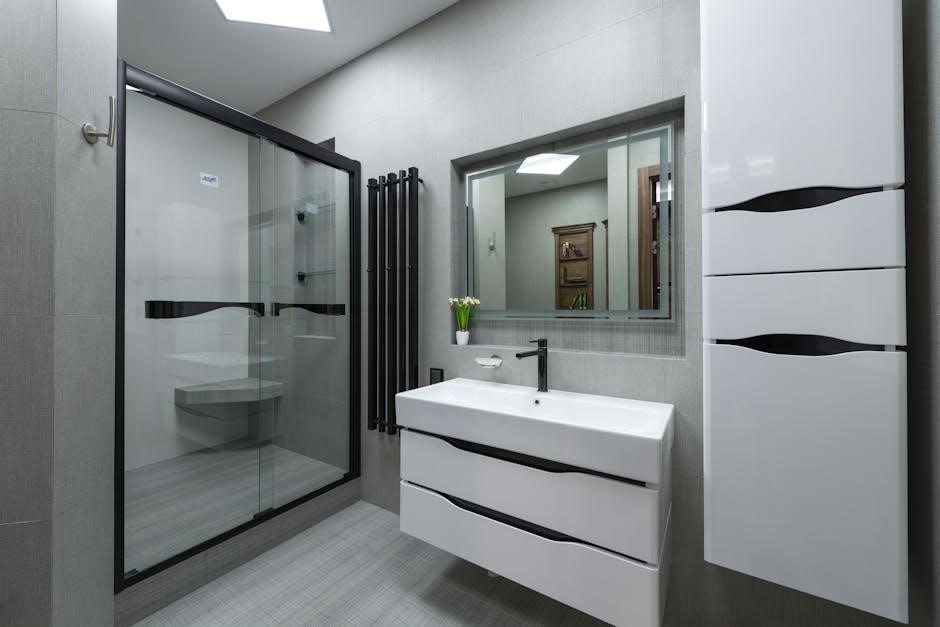
Delta shower doors are renowned for their quality, style, and durability․ They offer various models, including sliding and pivot doors, designed to enhance bathroom aesthetics․ Proper installation ensures water tightness, functionality, and longevity․ Follow the instructions carefully for a seamless setup․ Delta provides comprehensive guides to help you achieve professional results․
1․1 Overview of Delta Shower Doors and Their Benefits
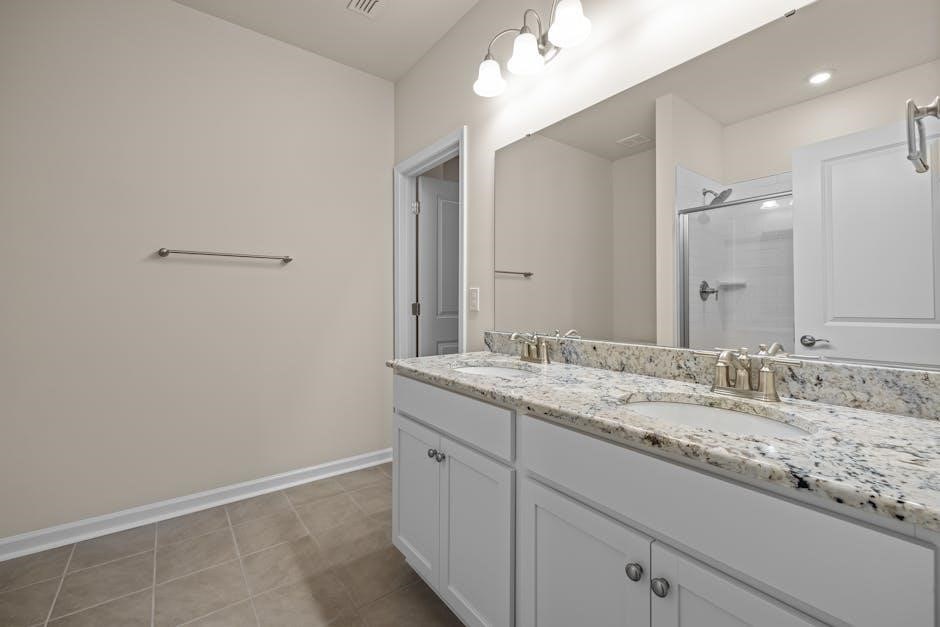
Delta shower doors are designed to enhance bathroom aesthetics while providing durability and functionality․ They offer a variety of styles, including sliding and pivot models, to suit different shower enclosures․ These doors are crafted with high-quality materials, ensuring water tightness and long-lasting performance․ Their sleek designs and crystal-clear glass options promote a modern look․ Additionally, Delta shower doors are easy to maintain and clean, making them a practical choice for homeowners seeking both style and convenience․
Pre-Installation Requirements and Tools Needed
Ensure the shower area is clear and protected․ Gather tools like drills, screwdrivers, and Allen wrenches․ Measure the shower opening accurately for proper fit and alignment․
2․1 Tools and Materials Required for Installation
Ensure you have the necessary tools and materials before starting․ Essential tools include a drill, screwdrivers, Allen wrench, silicone sealant, measuring tape, level, and safety goggles․ Materials needed are wall anchors, shims, adhesive, and a rubber mallet․ Additionally, gather a utility knife for cutting sealant and a clean cloth for wiping surfaces․ Organize all components to save time and ensure a smooth process․ Always wear protective gear for safety and follow manufacturer guidelines for sealant application․
2․2 Preparing the Shower Area for Installation
Before installation, ensure the shower area is clean and dry․ Cover the drain with a rag or tape to prevent losing small parts․ Remove any existing shower doors or hardware․ Check the walls and floor for plumb and level, making adjustments if necessary․ Clean the surfaces thoroughly to ensure proper adhesion of sealants․ Cover surrounding areas with drop cloths to protect from dust and debris․ Allow the area to dry completely before proceeding with installation․
Step-by-Step Installation Process
This section provides a detailed, step-by-step guide for installing Delta shower doors, covering both sliding and pivot models․ Follow the instructions for a smooth and secure setup process․
3․1 Sliding Shower Door Installation
Start by preparing the shower area and ensuring the opening measurements match the door․ Assemble the frame and panels according to the manufacturer’s guide․ Attach the rollers to the door and secure the track to the shower walls․ Carefully lift the door into place, ensuring proper alignment․ Tighten all screws and test the door’s smooth operation․ Double-check the seal integrity and hardware functionality․ Follow the instructions precisely for a secure and water-tight installation․ Proper alignment ensures smooth sliding and prevents leaks․
3․2 Pivot Shower Door Installation
Begin by assembling the door frame and attaching the hinges to the wall and door․ Install the pivot mechanism according to the manufacturer’s instructions․ Carefully hang the door on the pivot pins, ensuring proper alignment․ Adjust the hinges for smooth operation and secure them tightly․ Test the door’s functionality and ensure it closes properly․ Check for any gaps or misalignment and make necessary adjustments․ Proper installation ensures the door’s stability and water-tight performance․ Follow the guide for precise steps to achieve a professional finish․
3․3 Handling Different Types of Shower Door Models
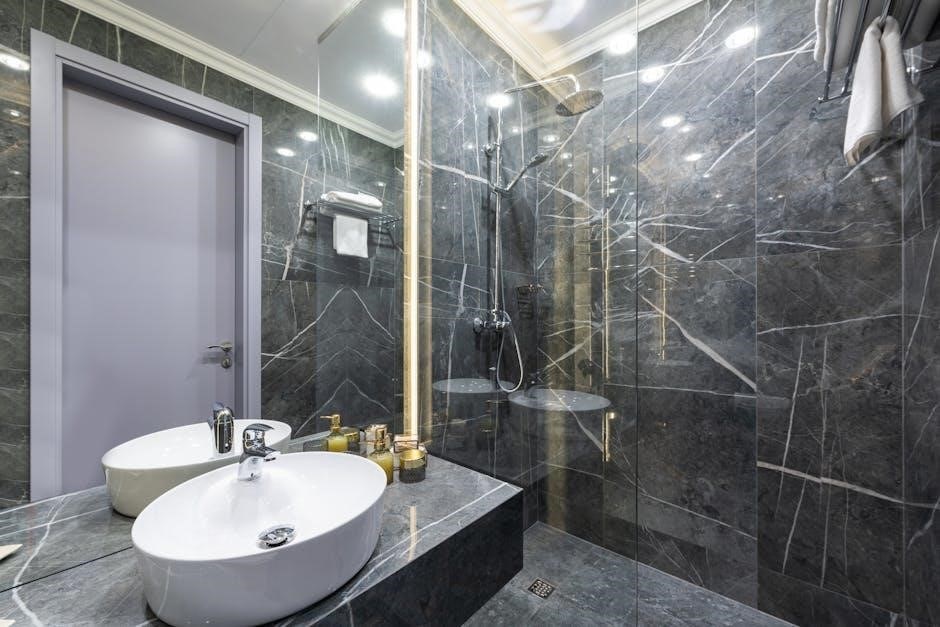
Different Delta shower door models require specific installation approaches․ Sliding doors involve tracking systems, while pivot doors rely on hinges and pivots․ Neo-angle models need precise alignment for corner installations․ Always refer to the model-specific instructions for accurate measurements and hardware assembly․ Adjust hinges and rollers to ensure smooth operation․ Apply silicone sealant around edges for water tightness․ Proper handling of each model ensures a secure and functional installation, enhancing the overall bathroom design and usability․
Pre-Installation Measurements and Planning
Measure the shower opening width and height to ensure proper fit․ Check wall plumbness and sill depth․ Verify door model compatibility with your shower dimensions for accurate installation․
4․1 Measuring the Shower Opening for Proper Fit
Measure the shower opening width at the top and bottom, ensuring consistency․ Check the height on both sides to confirm alignment․ Verify wall plumbness within 10 mm tolerance․ Measure sill depth for proper door alignment․ Ensure the opening matches the door model specifications․ Record all measurements accurately to avoid installation issues․ Use a level and tape measure for precise readings․ Double-check dimensions against the installation manual for compatibility․ Proper measurement ensures a secure and functional fit for your Delta shower door․
4․2 Checking Wall and Floor Conditions for Installation
Ensure walls are plumb within 10 mm tolerance and the floor is level․ Inspect for cracks or uneven surfaces that may affect installation․ Cover the tub or shower drain to prevent losing small parts․ Verify wall studs are securely in place for support․ Check for any water damage or rot that could compromise stability․ Ensure the floor can support the weight of the shower door system․ Proper wall and floor conditions are essential for a secure and leak-free installation․ Address any issues before proceeding to ensure a professional finish․
Assembly and Hardware Installation
Assemble the shower door frame and panels according to the manufacturer’s instructions․ Install hardware components like handles, rollers, and hinges securely․ Ensure proper alignment and fit․
5․1 Assembling the Shower Door Frame and Panels
Begin by unpacking and organizing all components․ Carefully align the frame sections, ensuring proper fit and alignment․ Use the provided hardware to secure panels to the frame․ Follow the step-by-step guide in the Delta installation manual․ Apply a small amount of silicone sealant to joints for added water resistance․ Double-check all connections to ensure stability and a seamless look․ Proper assembly is crucial for the door’s functionality and longevity․ Take your time to achieve precise alignment․
5․2 Installing Hardware Components (Handles, Rollers, etc․)
Begin by attaching handles to the shower door panels, aligning screws with pre-drilled holes․ Secure tightly but avoid over-tightening to prevent glass damage․ Next, install rollers on the door frame, adjusting them for smooth operation․ Lubricate with silicone-based lubricant for optimal performance․ Attach hinges to the wall or enclosure, ensuring they are level and secure․ Finally, install strike plates and door stops, adjusting them for proper alignment and functionality․ Apply silicone sealant around edges for water tightness․
Sealing and Final Adjustments
Apply silicone sealant around the door frame for water tightness․ Adjust door alignment and hinges for smooth operation․ Ensure all hardware is secure and functioning properly․
6․1 Applying Silicone Sealant for Water Tightness
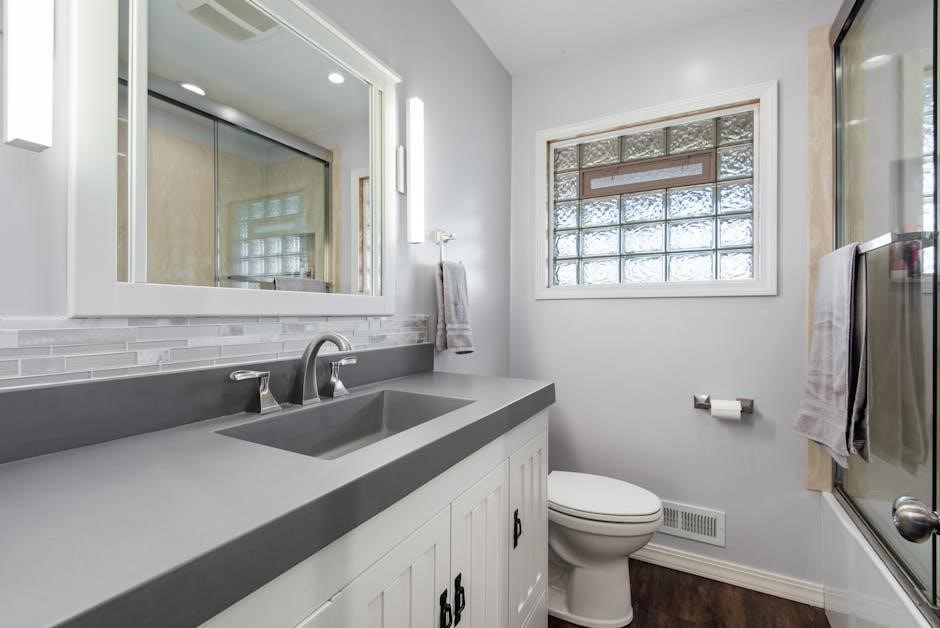
To ensure a watertight seal, apply silicone sealant around the edges of the shower door frame and where it meets the wall or shower enclosure․ Clean the area thoroughly before application to ensure proper adhesion․ Follow the manufacturer’s instructions for curing time, typically 24 hours․ This step is crucial to prevent water leaks and maintain the integrity of your shower door installation․ Allow the sealant to dry completely before testing the door’s water tightness by running water over it while closed․
6․2 Adjusting Door Alignment and Ensuring Proper Function
After installation, check the door’s alignment to ensure it closes smoothly and evenly․ Adjust the rollers or hinges as needed to align the door properly with the frame․ Use a spirit level to ensure the door is plumb and aligned correctly․ Test the door by opening and closing it several times to confirm smooth operation․ Make any necessary adjustments to the hardware to ensure proper functionality and prevent water leaks․ Once aligned, test the door under running water to verify water tightness․

Troubleshooting Common Installation Issues
Address alignment problems by adjusting hinges or rollers․ Inspect for leaks and reapply silicone sealant if necessary․ Check hardware for proper function and tighten loose parts․
7․1 Addressing Alignment Problems and Leaks
Check door alignment by ensuring the frame is level and plumb․ Use shims to adjust the frame if necessary․ Inspect rollers and hinges for proper function․ For leaks, clean old sealant and apply new silicone according to manufacturer instructions․ Test the door’s movement after adjustments to ensure smooth operation and water tightness․ Regular checks can prevent future issues․
7․2 Solving Hardware Malfunction Issues
Hardware malfunctions, such as stuck rollers or loose handles, can disrupt door functionality․ Inspect and tighten any loose screws or hinges․ Clean rollers and tracks to ensure smooth movement․ If issues persist, replace worn-out parts with genuine Delta components․ Proper alignment and lubrication of moving parts can prevent future malfunctions․ Refer to Delta’s troubleshooting guide for detailed solutions and warranty information․ Regular maintenance ensures optimal performance and extends the lifespan of your shower door hardware․

Maintenance and Care Tips
Regularly clean the shower door with mild detergent and a non-abrasive cloth․ Avoid harsh chemicals to prevent damage․ Inspect hardware and seals for wear and tear․
8․1 Cleaning and Maintaining the Shower Door
Regular cleaning is essential to maintain the appearance and functionality of your Delta shower door․ Use mild detergents and a non-abrasive cloth to wipe down the glass and frame․ Avoid harsh chemicals, abrasive materials, and bleach, as they can damage the finish or glass․ Clean the door after each use to prevent soap scum and water spots from building up․ For sliding doors, clean the tracks regularly to ensure smooth operation․ Dry the door thoroughly after cleaning to prevent water spots and mildew growth․
8․2 Regular Checks for Hardware and Seal Integrity
Regularly inspect the hardware, such as handles, rollers, and hinges, for proper function and tightness․ Check the silicone sealant around the door and walls for cracks or gaps, as water leaks can occur if compromised․ Clean debris from the tracks to maintain smooth door movement․ Ensure all screws and bolts are securely fastened to prevent misalignment․ Address any issues promptly to maintain the door’s water-tight seal and overall performance․ This routine maintenance will extend the lifespan of your Delta shower door․